
Planning Before Planting: The Best Plants to Start Indoors This Spring
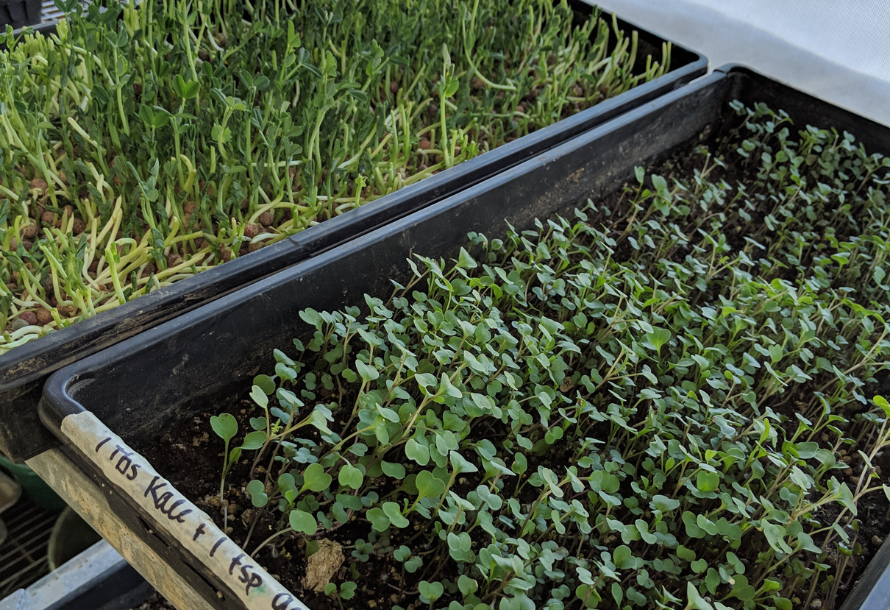
Is your goal to have a garden your neighbors will envy this summer? You came to the right place. Starting your seeds inside will give your crops a head start so they have longer harvests or flowering periods.
As Vermonters, we know that the spring weather can sometimes be unpredictable. Growing your plants in a controlled environment inside will protect them from potential random frost days or strange weather patterns. Growing your plants inside will give you the opportunity to try veggies, herbs, and flowers you might not try otherwise!
The Best Plants to Start Indoors
When you’re starting your garden inside, it’s important to choose your seeds carefully. Some plants aren’t good with having their roots disturbed; growing them ahead of time can actually prevent healthy growth. It’s best to avoid planting root vegetables— like carrots, turnips, and parsnips— inside. Instead, plant them about two weeks after the last frost.
In Vermont, the last frost typically occurs in May. It’s important that you don’t plant your garden too early so the crops don’t freeze. We like to use this Almanac Planting Calendar, customizable to your town, to best understand when to plant which crops. Give it a try!
Let’s assume that the last frost will be May 15, and you want to plant your garden during the last weekend in May. Refer to this last frost date map to see the average frost dates in your town.
And now is the perfect time to get started! Here are the plants you should start inside to make your summer garden beautiful and fruitful this summer:
Tomatoes
.
Starting tomatoes inside will make them turn red earlier and the harvest last longer, giving you a higher yield and better fruits.
Timeline
First, decide on the type of tomatoes you want. Most of them follow the same growing habits and structure, so pick whichever tomatoes you prefer! It’s best to start your tomatoes about six to eight weeks before planting them outside.
Germination Method
Soaking tomato seeds overnight will make them more likely to germinate and grow once placed in soil. Plus, if you put tomato seeds in warm water and wait a few minutes, usable seeds will sink. Then, you can throw away the ones that float and more of your seeds are likely to grow into full plants. Soak seeds in room-temperature water for 24 hours for best results.
After soaking, transfer the seeds to containers, with two or three seeds in each section. Use seed-starting soil, as it’s better for drainage, and make sure there are drainage holes in the bottom of each container. Place the seeds into the soil, covering it without about a quarter-inch of soil on top. Moisten the top layer of soil, but do not overwater; overwatering can stunt tomato growth. Add a layer of plastic wrap on top of the containers to keep the plants moist until they sprout.
Tomato seeds grow best at around 70 to 75 degrees Fahrenheit until they sprout, in which case the temperature should drop to around 65 degrees. For best results, use an LED grow light to keep seedlings happy.
Planting Tips
Two weeks after the last frost, your tomatoes are ready to plant outside! Gently remove the plants from their containers, placing them in a small hole in your garden. Add tomato cages to promote healthy growth and prevent them from overtaking other crops in your garden.
How to Enjoy
Tomatoes are a fresh pop of flavor in many recipes! We love adding garden tomatoes to our favorite chili recipe, bruschetta, salas, sandwiches, and more.
Peppers
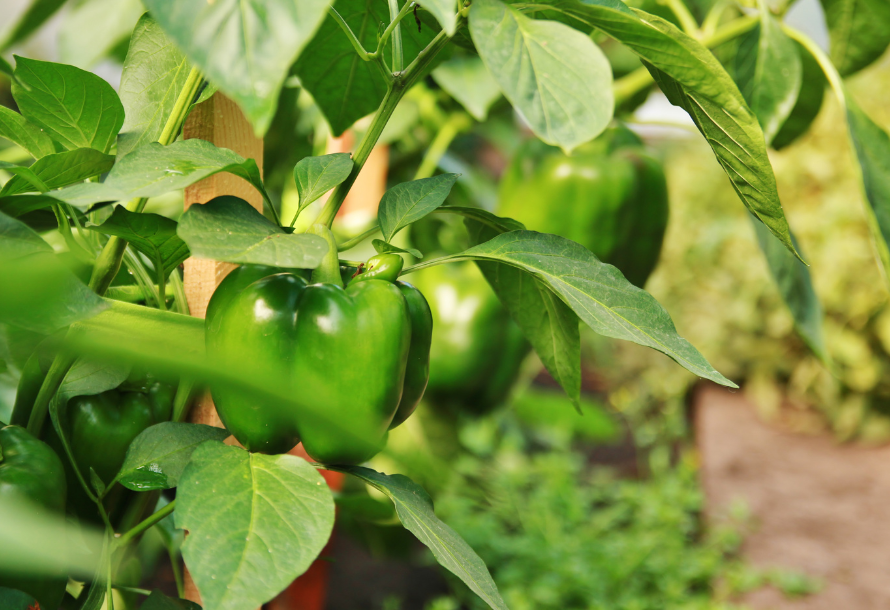
Bell peppers, chilis, poblanos, and most other peppers tend to follow similar growth patterns. No matter the type of peppers you choose, follow these steps to encourage happy and healthy growth with your plants:
Timeline
Start your peppers inside about eight weeks before you want to plant them outside.
Germination Method
Follow a similar soaking process to tomatoes, submerging the seeds in water for 24 hours. After 24 hours, place two to three seeds in each container. Again like tomatoes, it’s best to use containers with proper drainage.
Place the seeds into the containers, adding about an inch of seed-starting soil on top. Whereas tomatoes once needed moist soil, you should completely water your pepper seeds. Don’t flood the containers, but make sure each section is deeply watered. Keep the temperature at 70 to 80 degrees Fahrenheit using an LED lamp.
Keep in mind that hotter peppers typically grow slower than mild ones, so if you’re growing both, it doesn’t mean those seedlings are a dud.
Planting Tips
When it comes time to transplant outside, it’s best to place plants outside in their original containers to “harden” them. This will prevent the plants from going into shock and ultimately dying. After the plants adjust to the outside temperature and elements, it’s time to put them into the ground! Gently remove each plant from its cell, loosen the roots, and place it into a hole in your soil. Water the plants, and you’re good to go!
How to Enjoy
If you’ve never had peppers fresh from the garden, you’re in for a treat. The flavors are elevated and will be perfect to add into all of your favorite recipes. Use the peppers for your grilled kabobs, stuffed peppers, or add them to a veggie platter to share with guests!
Cucumbers
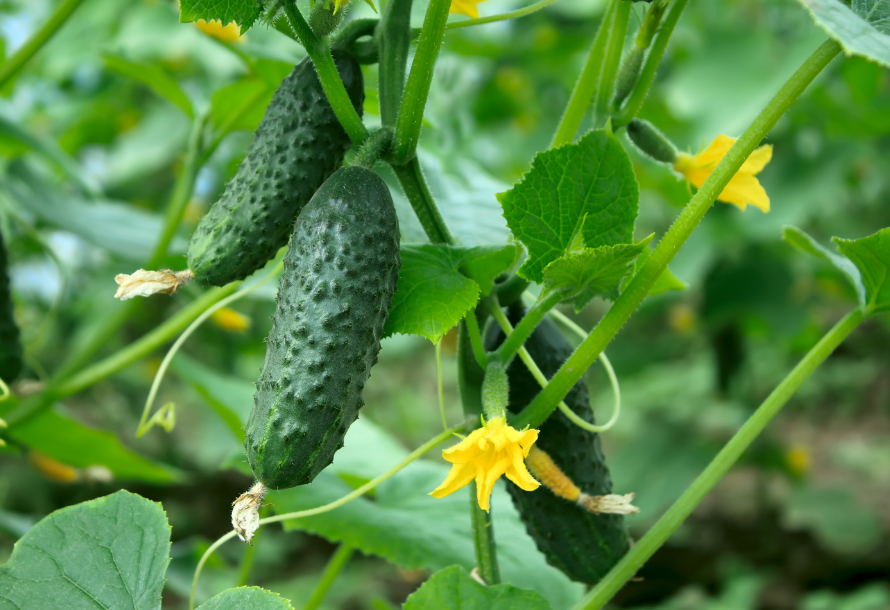
There’s nothing like eating a fresh cucumber right from your own garden!
Timeline
Start growing cucumbers three to four weeks before planting outside.
Germination Method
Whereas tomato and pepper seeds are best germinated in a cup of water, cucumbers use a different method. Place your cucumber seeds in a dry paper towel, soak it with water, and put it in an empty glass. Use plastic wrap to cover the glass and place it in a sunny area for four days.
Once the four days are up, put one or two seeds in each cell of your container, about one-half inch deep. Keep the plants in a sunny area in a room at about 75 degrees Fahrenheit. Cucumbers are 96 percent water, meaning they must be kept moist in order to grow properly (and taste good!).
Planting Tips
Dig a small hole in your garden to transplant the seedlings. Gently and without disturbing the roots, remove the seedlings from their containers and place them in your garden about 12 inches apart from one another. Cucumber plants can grow large, so you want to make sure they have enough space to breathe. Water them and they should be ready to produce delicious cucumbers in just a few months!
How to Enjoy
Cucumbers have many different functions depending on the kind you choose. If you’re a pickle lover, we recommend planting pickling cucumbers so you can make your own homemade batch! Otherwise, any type of cucumber will be perfect for adding to salads, infused water, or eating on their own.
Celery
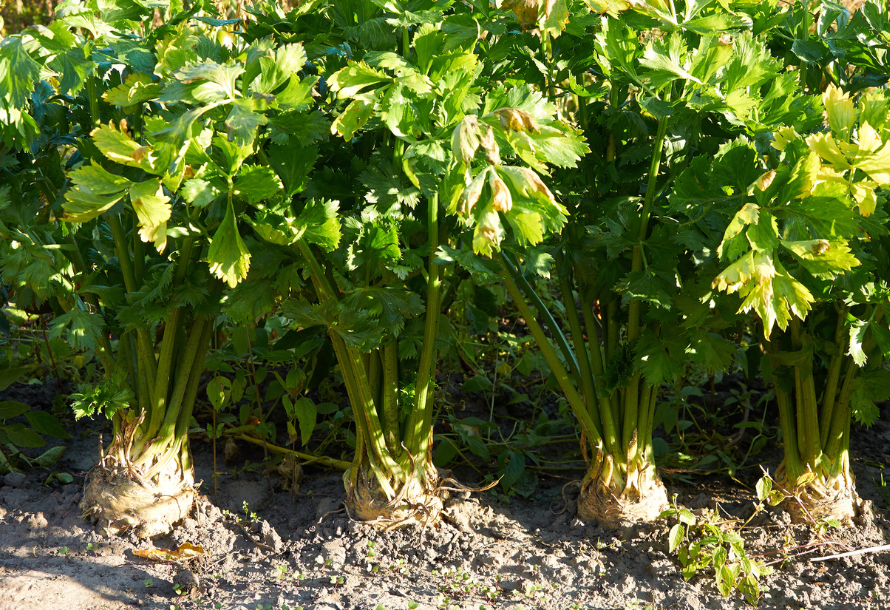
A flavor enhancer for many recipes, you don’t want to miss out on the chance to have fresh celery whenever you need it.
Timeline
Kick off your celery plants 10 to 12 weeks before you want to plant your outdoor crops.
Germination Method
To start the growing process, soak your celery seeds in a cup of warm water overnight. Afterwards, they’ll be ready to place in the soil!
Celery is the pickiest of these crops, requiring that you press their seeds into soil but not covering them. Use plastic wrap to cover cells to keep the plants moist. If they don’t stay watered, celery will be small, tough, stringy, or all three. Similar to cucumbers, celery is 95 percent water.
For best results, place a grow light about three inches above the plants and keep it on for 16 hours a day.
Planting Tips
Keep celery plants inside until the soil temperature reaches at least 50 degrees and won’t dip below 40 degrees at night. Plant the seedlings about 10 inches apart, giving the plants enough space to grow healthily. Make sure to keep it moist to promote delicious veggies!
How to Enjoy
Celery is the best added flavor in soups and stews, summer salads, and the classic snack: ants on a log. Pair it alongside your buffalo cauliflower wings for balance. And fresh celery makes it all the better!
Herbs
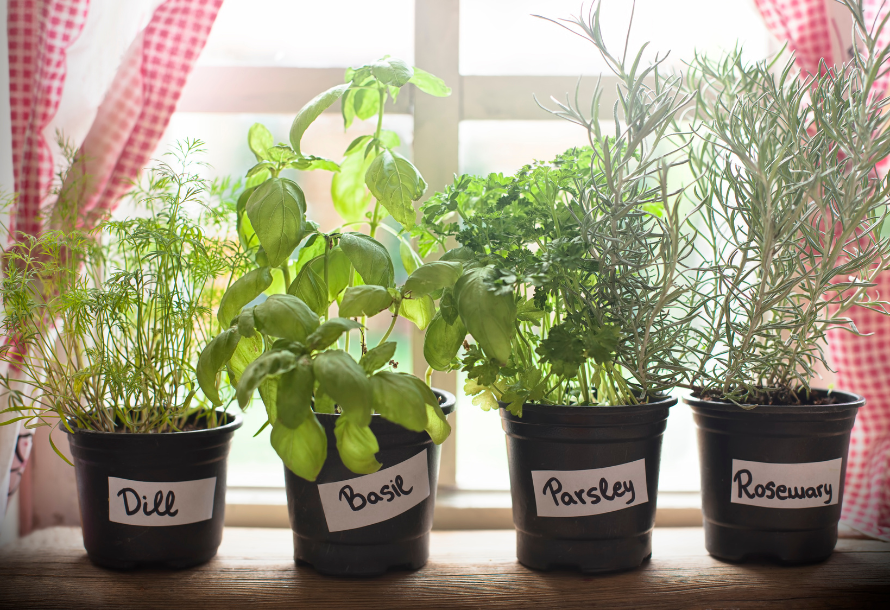
Herbs are one of the best types of plants to grow inside, and often people keep them there if they only want a small yield. Be careful with certain herbs if you have pets; pets are allergic to several plants like oregano, tarragon, lavender, eucalyptus, and more. Use this resource from ASPCA to determine if a plant is poisonous to your pet.
Germination Method
Use individual pots or a garden growing tray to start your seeds. Place two or three seeds in each pot or cell, covering with soil and firmly pressing down. Gently spritz the seeds with water and cover the pot or tray with plastic wrap to keep in moisture. Once you start to see seedlings, remove the plastic wrap.
Planting Tips
Different herbs prefer different environments. Herbs like rosemary, thyme, and sage like the soil to completely dry out between waterings. On the other hand, mint, basil, parsley, and similar plants like the soil to stay moist but not overwatered. Keep all herbs in a sunny spot and harvest them as needed!
How to Enjoy
Fresh herbs are perfect for enhancing the flavors of most meals. Add them to your favorite recipes to make the flavors stand out. For some herbs, you can also enjoy fresh, loose leaf tea.
Flowers
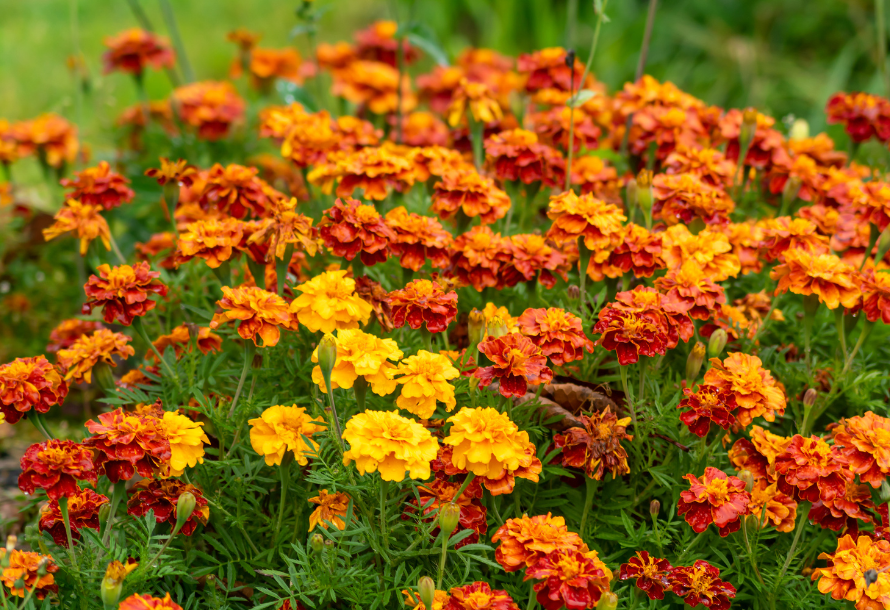
The most reliable flowers to start inside and add to your garden are marigolds.
Timeline
Start your Marigold seeds inside six to eight weeks before you plan on planting them in your outdoor garden.
Germination Method
Marigold seeds require sunlight to properly germinate. Fill cells with seed-starting soil and add one or two seeds to each section. Press the seeds into the soil, but make sure the soil doesn’t cover them. Water them well, place them in a sunny area, and wait for them to grow!
Planting Tips
Two weeks after the last frost, dig a hole in your garden and place the marigold seedlings inside. Make sure plants are 10 to 12 inches apart. Water them, and watch the magic happen as they grow and bloom!
Other reliable flowers to try out are: lavender, calendulas, zinnias, and sweet peas. With this mix, your garden will be bright and lush this summer!
Starting plants from seeds indoors is a rewarding way to get a head start on your summer garden. Following these tips, you’ll be able to grow a bountiful harvest of delicious veggies and herbs as well as beautiful flowers. While it requires some advance planning and effort, nothing beats the satisfaction of enjoying fresh produce and blooms. What are you waiting for? Father your supplies, choose your plants, and get started!
Want more tips? Check out our other home and garden blogs for recipes, hacks, and more!
Categories
Recent Posts






GET MORE INFORMATION